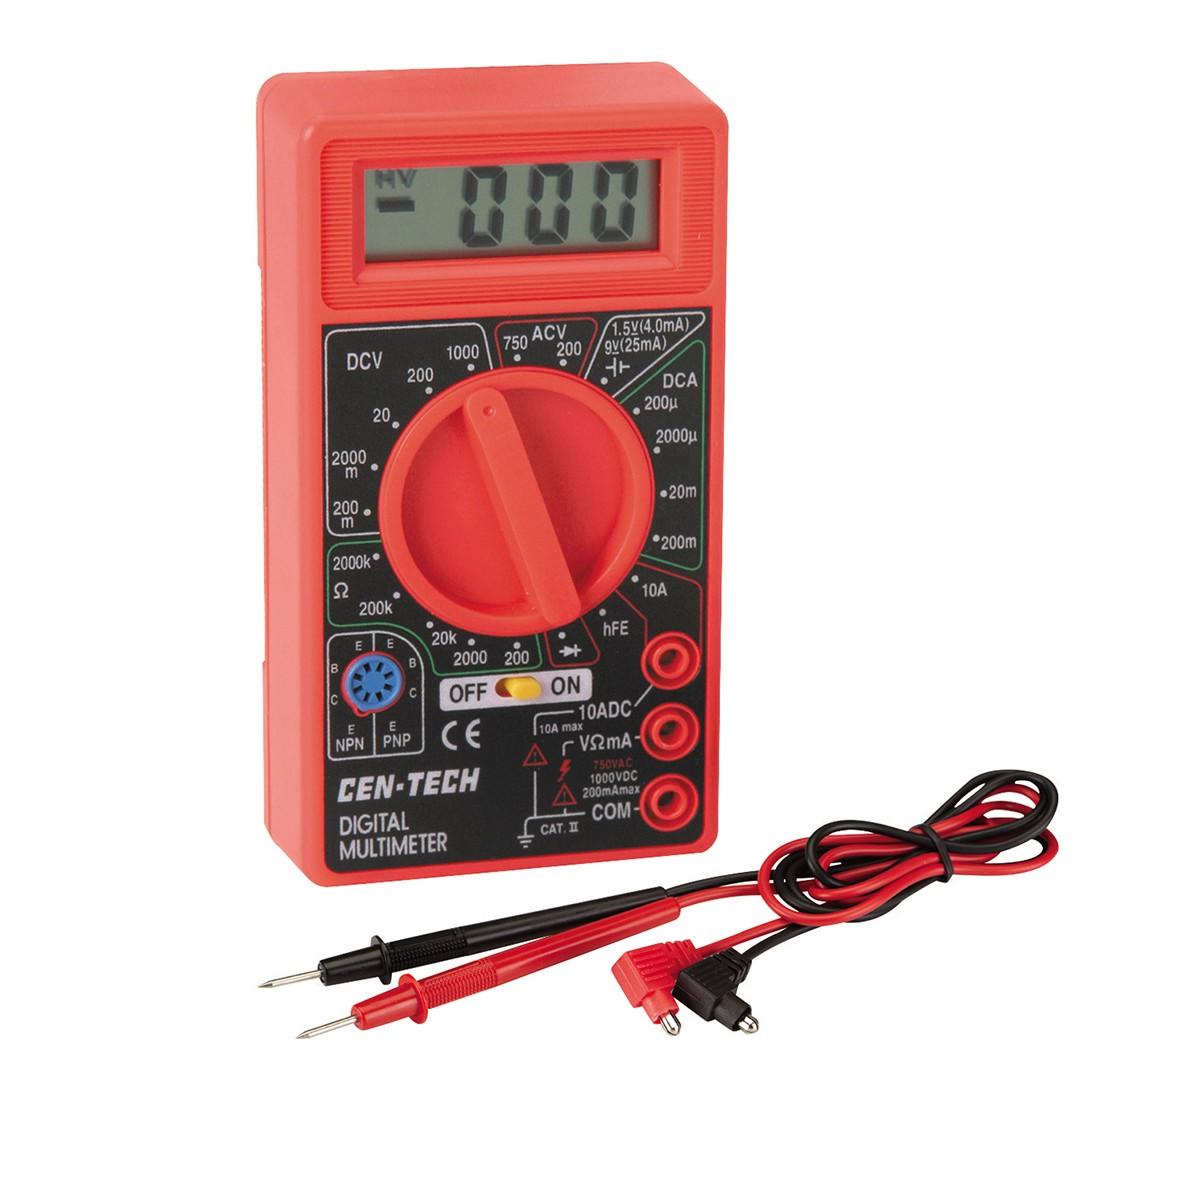
- Test AC voltage, DC voltage, DC current, continuity, resistance, transistor and battery test
- Features an easy-to-read 3-1/2 digit LCD display
- Data hold retains information after test
- Automatic zero adjust
- Resolution: 1999
You can always use a multimeter and when you need it is when you do not have it. This is a great inexpensive device as indispensable as a hammer in any toolbox
The handheld digital multimeter (DMM) is a basic electric as well as electronic testing tool. It is called a multimeter because it combines multiple meter functions into one unit: voltmeter, ammeter and ohmmeter. These days, almost all of these meters are digital, which makes them very easy to use.
Here is a list of 10 things you can do with a DMM.
[ You can opt out of Google Ads if you are a registered user at /ad-options ]1. Check the power supply voltage on the new power supply you just purchased.
2. See if your HT battery pack is fully charged.
3. Measure the current that your transceiver draws to estimate how long your emergency power system will last during a blackout.
4. Sort the bag of resistors you purchased at the swapfest.
5. Check a fuse to see if it is blown.
6. Troubleshoot your broken rig by checking the bias voltages against the service manual.
7. Figure out if the AA batteries the kids left for you are dead.
8. Verify that your coax is not shorted between the shield and center conductor.
9. Check the level of the power line voltage in the ham shack.
10. Check for good DC continuity between the ends of the TNC cable you just soldered.
Common uses are:
1. Test batteries
You're stuck with a drawer full of old disposable batteries. The trouble is you don't remember how they got there. You don't know if they're all dead or if some are still kicking. Don't worry, your multimeter's voltage modes can help.
Your multimeter should have two wired probes color-coded red and black. They're insulated in plastic, have metal tips and are typically pen-shaped. The black probe connects to your multimeter's "COM" terminal. The red probe goes in the terminal labeled volts (V) and ohms (omega symbol).
Turn the multimeter dial to the DC voltage position. Turn its dial to the position marked "20." It should be grouped within the "DCV" section of the dial. Now turn the multimeter on. Touch the black probe (COM) to the negative end of the battery you're testing. Next touch the red probe to the positive end of the battery (the end that sticks out).
With a confirmed 1.5 volts of direct current my multimeter proclaims this AA battery alive! Of course how strrong it is is anotbher matter
You should now see the live voltage value displayed on the multimeter's screen. If you see "0L" displayed, then the voltage range is set too low. Standard AA and AAA batteries are rated at 1.5 volts. A CR2032 watch battery doles out 3 volts. So, if you see a value that matches a battery's rated voltage (or slightly higher) it's still good. A reading that's lower marks a battery that's dying or dead.
2. Check extension cords
Doubt the integrity of that dusty extension cord? Set the multimeter dial to its continuity test mode. Look for the soundwave symbol (dot with progressively larger curved lines). Your probe terminal configuration stays the same (black in COM, red in volts/ohms).
Turn on the multimeter. Insert the black probe into one of the receptacles on one end of the cord. A US style grounded extension cord has three prongs on one end and three matching receptacles (in size and shape) on the other.
Now touch the red probe to the matching prong on the plug end of the cord. If that particular connection, linked by a wire inside the cord, is good then the multimeter will emit a tone or beeping sound. This tells you that this connection is contiguous, meaning it will carry current and close a circuit. Test the two remaining plug/receptacle pairs in this fashion. When all three beep, you know you're in business. If not, then it's time to shop for a new cord.
3. Sort through old light bulbs
This trick will only work reliably on simple incandescent bulbs. If you have a box of old bulbs in unknown conditions, use your multimeter to test which ones are good and which ones are blown.
Confirm your meter is set in continuity test mode (see step 2) and is switched on. Touch the black probe to the outside of the bulb's metal threaded end. It helps to put the probe tip inside a screw thread groove for extra stability. Now touch the tip of the red probe to the bulb's electrical foot contact (that's a fancy way to say the metal circle at the bottom of the bulb).
When the red probe makes contact, the multimeter will sound a tone if the light bulb's circuitry checks out. If there's no sound then you've got a dead bulb.
4. Spot the hot wire
Let's say a light fixture on the ceiling failed -- when you flip the switch on and off, nothing happens. To troubleshoot the light switch, first shut off power at your main breaker panel. Then, take a look inside the box by pulling the connected switch out of it carefully.
The first priority now is to determine if house electrical power is getting to the switch at all.
Switch power to the box back on at the panel. Turn the multimeter to measure AC voltage and its range to 200 volts. Confirm the black probe is in its "COM" terminal and the red probe is in its "V, ohm" terminal. Turn on the multimeter. Now grip the back probe at its raised plastic ridge. The ridge on the insulated probe is a good distance away from the probe's metal tip.
Carefully touch the black probe to a metal section of the light switches housing. Gripping it the same way, touch the switch contact labeled "COM" to the red probe. That switch terminal often uses a black screw. The multimeter should now display a reading of 120 volts or slightly above. You've now confirmed that house electrical power (120 volts AC current) is reaching the switch, coming from the wire on the switch's "COM" terminal.
Confirm if a suspect switch is working or has failed.
5. Find a bad switch
If you have a light switch you suspect is bad, you can use your multimeter to confirm its condition. Shut down power to the switch at the panel. Disconnect the switch from wiring in its electrical box. Use the probe port/terminal positions as before (black on COM, red on V/ohms). Switch the multimeter dial to the resistance (ohms) mode and turn it on.
With the switch in the off position, touch one probe to the switch's "COM" black terminal and the other to the brass terminal next to it. For this test it doesn't matter which probe connects to which switch terminal. You should see "OL" on the multimeter's display. This means there is infinite resistance on the switch circuit. That makes sense because the switch is off.
Now flip the switch on and take the same measurement. If the light switch is in good order the multimeter will now read a resistance value close to zero. In my case, I logged 0.4 ohm for an old 3-way switch I know works just fine. If you still see "OL", or infinite resistance on the switch then it's most likely faulty.